

Part 3 of our Nativity Crochet-a-long is this sweet little Donkey! His mane has a little mohawk look to it and makes for a fun feature!
He measures about 3.5 inches tall with the body and head made as one piece. And you bet he works up pretty quickly!
If you're just learning about the Nativity CAL head over here for all the dates, details and materials. Plus links to Parts 1 and 2. It's not too late to join in! The Donkey is Part 3 of 9 that we'll be working on through the month and into December.
Pattern
PIN here to save for later
Grab the ad-free printable PDF in my Etsy or Ravelry shop
(Continue scrolling for the free version here on the blog)
Don't want to miss a new pattern?
Stay in touch through these platforms below!
Pinterest - Newsletter - Instagram - Grace & Yarn Crochet Group - Facebook
This post may contain affiliate links, please see our disclosure for more information. Thank you so much for supporting Grace & Yarn!
You may make and sell items made from this pattern but please do not sell, share or reproduce the actual pattern. If you sell finished items online (Etsy, etc) please provide a link to the pattern and credit to me as the designer, thank you. I hope you enjoy this pattern!

Materials –
- Size 4 worsted weight yarn (I used WeCrochet Comfy Worsted in the colors Whisker, White and Black
- 3.5 mm crochet hook
- 9mm safety eyes
- Black crochet/embroidery thread for eyebrows/nose
- Scissors
- Tapestry needle (bent tips work wonders for amigurumi)
- Stuffing
- Stitch markers
Weighted Base Materials –
Making a weighted base is optional but recommended to help your pieces stand alone. Please keep in mind they involve small pieces if you are intending your set to be handled by young ones.
- Poly-pellets (approx. ½ to 1 tbsp)
- 1 Knee-high stocking
NOTES -
- Slowly stuff as you go, you want it to be firm but not stretched. You will be working in the round; I like to use a stitch marker at the beginning of each round.
- The body and head will be made as one piece.
Weighted Base Tutorial –
1. To make a weighted base pour ½ tbsp inside of a knee-high stocking (you want just enough to fill the base of your piece).
2. Tie into a knot and cut off excess.
3. Place into the bottom of your Angel after round 11.
4. Continue to crochet and stuff per usual.

Nose –
With White
Round 1: Create a magic circle with 6 SC
Round 2: SC INC in each st around (12)
Round 3: SC around (12)
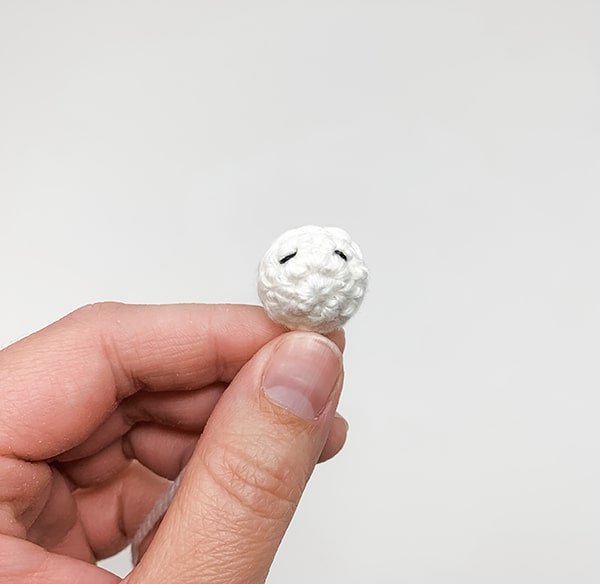
Fasten off leaving a long tail for sewing. With black yarn or embroidery thread create nostrils on either side between rounds 2 and 3.
Body –
With Whisker
Round 1: Create a magic circle with 6 SC
Round 2: SC INC in each st around (12)
Round 3: SC in the first st, SC INC in the next, rep around (18)
Round 4: SC in the first 2 sts, SC INC in the next, rep around (24)
Round 5: SC in the first 3 sts, SC INC in the next, rep around (30)
Round 6: SC around in the BLO (30)
Rounds 7-8: SC around (30)
Round 9: SC in the first 3 sts, INV DEC in the next, rep around (24)
Rounds 10-11: SC around (24)
Round 12: SC in the first 2 sts, INV DEC in the next, rep around (18)
Rounds 13-14: SC around (18)
Round 15: SC in the first st, INV DEC in the next, rep around (12)
*We will now start the head*
Round 16: SC in the first st, SC INC in the next, rep around (18)
Round 17: SC in the first 2 sts, SC INC in the next, rep around (24)
Round 18: SC in the first 3 sts, SC INC in the next, rep around (30)
Rounds 19-23: SC around (30)
Note: Here is where we will add the facial features before we start closing the head. Insert your safety eyes between rounds 20 and 21, 4 stitches apart.
Sew your nose piece centered between the eyes adding a small among of stuffing as you go.
Optional: Add eyebrows.

Round 24: SC in the first 3 sts, INV DEC in the next, rep around (24)
*Continue to stuff the head firmly
Round 25: SC in the first 2 sts, INV DEC in the next, rep around (18)
Round 26: SC in the first st, INV DEC in the next, rep around (12)
Round 27: INV DEC around (6)
Fasten off and sew remaining part closed, weave in your end.
Ears –
With Whisker make 2
Round 1: Create a magic circle with 6 SC
Round 2: SC around (6)
Round 3: SC in the first st, SC INC in the next, rep around (9)
Rounds 4-5: SC around (9)
Fasten off leaving a long tail. With yarn tail and tapestry needle fold your ear in half and pass through across the top of your stitches to close. Leave the remaining of your tail for assembling later.

Mane –
With Black
Chain 16
Row 1: SC into the 2nd chain from your hook and in each chain across, chain 1 and turn (15)
Row 2: SC across, do not turn work (15)
Row 3: Chain 3, sl st into the same st, chain 3, sl st into the end of row 2, chain 3 and sl st into the end of row 1
Fasten off leaving a long tail for sewing.

Assembly –
- Sew ears onto either side of the head at the 3rd-5th round from the top.
- Sew your mane centered between the ears and down the back of the head. Mane should end at the neck.

Your donkey is done! I'll see you back on Tuesday (November 16th) for Part 4!


No comments